Quick Summary
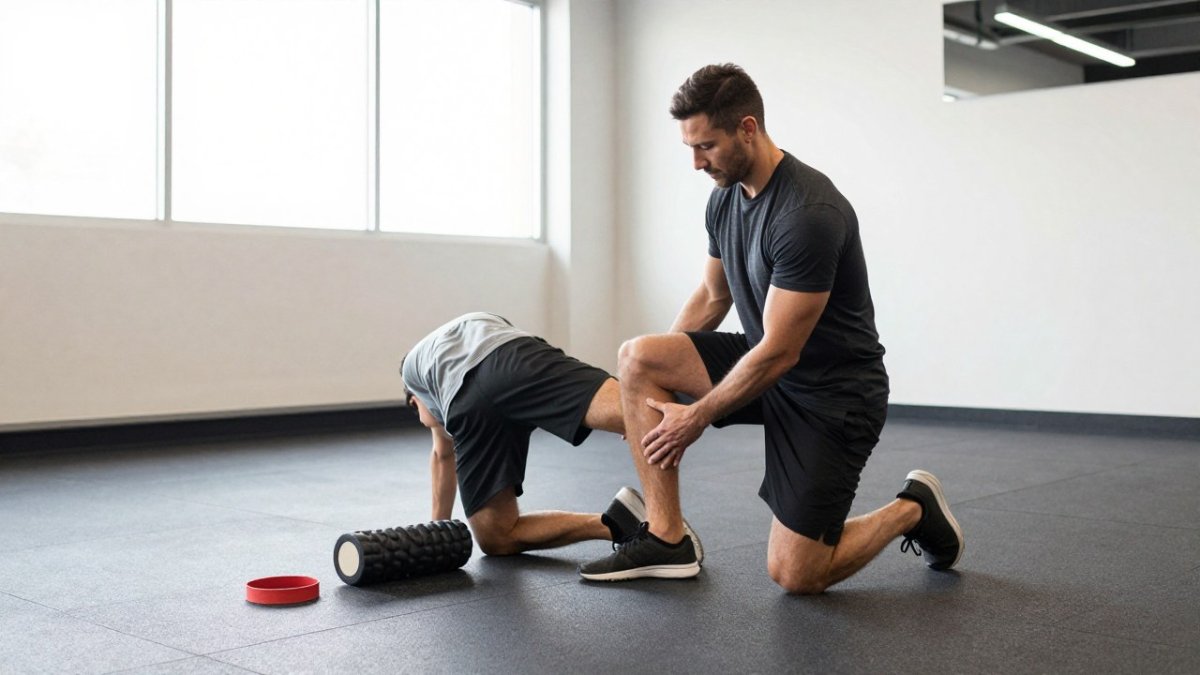
Bridging physical therapy and training means moving from clinical rehab into hard training in safe steps, and the bridge exercise is a simple way to do it. Athletes progress from a basic supine bridge to single-leg and weighted versions only after clean form, a level pelvis, and no pain. Use measurable readiness criteria rather than how you feel.
- A bridge exercise works the glutes, hamstrings, and core together.
- Progress to a harder variation only after controlled reps, no pain, and repeatable form.
- A single-leg bridge with a visible hip drop means regress, not add reps.
- Pain that rises or lingers past a day signals backing off and checking in with a clinician.
- Return to sport should depend on objective criteria and pain-free performance, not the calendar.
Table of Contents
- Bridging Physical Therapy to Training: A Step-by-Step Plan
- What a Bridge Exercise Does and Why It Matters After Rehab
- How to Perform a Basic Bridge: Setup, Cues, and Bridge Exercise Form
- Bridge Exercise Variations and When to Progress Between Them
- How Long to Hold a Bridge Exercise and How to Dose It
- Building a Plan for Your Return to Sport After Physical Therapy
- Frequently Asked Questions
Bridging Physical Therapy to Training: A Step-by-Step Plan
Last Updated: November 10, 2026
What a Bridge Exercise Does and Why It Matters After Rehab
Bridging physical therapy and training is the step most athletes skip, and it is the step that decides whether a comeback holds. A common pattern is for an athlete to clear rehab, feel fine, and jump straight into hard training.
A bridge exercise is a bodyweight movement where you lie on your back, bend your knees, and lift your hips off the floor. It works the glutes, hamstrings, and core together.
- Builds hip extensor strength, including the gluteus maximus
- Trains trunk stability and pelvic control
- Loads the posterior chain without heavy equipment
Research on clinical-community linkages points in a similar direction. Athletes finishing rehab can also look at ACL recovery and return-to-sport performance training to see how a performance coach can guide the move back to competition. A 2018 study by Fishleder and colleagues on clinical-community linkages after physical therapy describes referrals from physical therapists as a promising way to keep older adults active in their community.
How to Perform a Basic Bridge: Setup, Cues, and Bridge Exercise Form
The basic supine bridge is easy to learn but easy to do wrong. Good setup matters more than speed.
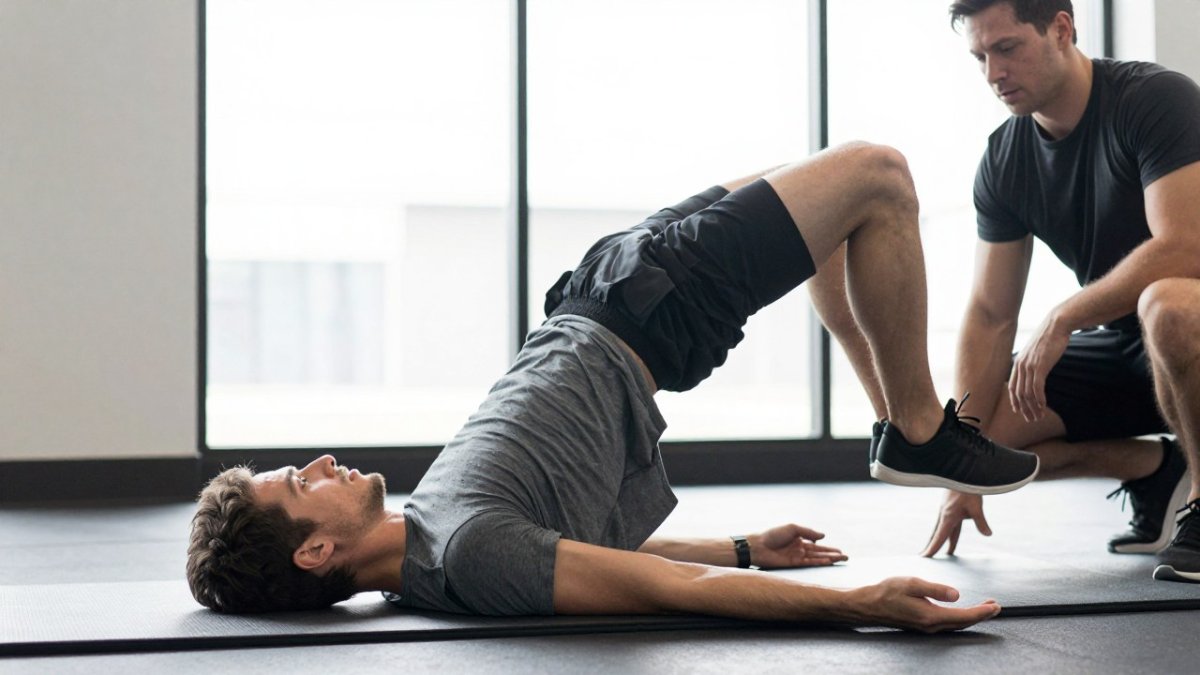
Starting position: Lie on your back with knees bent and feet flat, about hip-width apart.
Movement:
- Push through your feet and lift your hips until your body forms a straight line from knees to shoulders.
- Squeeze your glutes at the top for a brief pause.
- Lower slowly, one vertebra at a time, back to the floor.
Cues that help:
- Keep your ribs down and your spine neutral
- Breathe out as you lift, in as you lower
- Think "push the floor away" rather than "lift the hips up"
A overview of hip extension and glute activation from the American Physical Therapy Association is a useful reference if you want to learn more about how these muscles work together.
Common Form Mistakes to Avoid
Most bridge problems come from a few predictable errors:
- Arching the lower back at the top instead of driving from the glutes
- Pushing through the toes rather than the heels
- Rushing the lowering phase, which removes most of the training benefit
If your hamstrings cramp, your feet are probably too far from your hips. Adjust the distance and try again.
Bridge Exercise Variations and When to Progress Between Them
Progression is where most athletes make a mistake. They move to harder variations because they feel strong, not because they have earned it.
The variations below are ordered from easiest to hardest.
- Basic supine bridge: the entry point. Hips lift to a straight line from knees to shoulders, brief pause at the top, slow lower.
- Bridge with a longer hold: same movement, hold the top for a longer count. This builds endurance in the hip extensors before you add load or asymmetry.
- Bridge march: at the top, alternate lifting one foot a few inches off the floor. The pelvis must stay level; if one hip drops, you are not ready for single-leg work.
Readiness benchmarks for moving up. Use these as decision rules rather than suggestions:
- Controlled repetitions: you can complete the target reps without the pelvis dropping, the knees caving in, or the lower back arching at the top.
- Symptom response: no pain during the set, and no increase in symptoms the next day. Mild muscular effort is expected; sharp, pinching, or radiating symptoms are not.
- Pelvic position: you can hold the top for a controlled pause without the hips sagging or the ribs flaring.
- Repeatability: you can hit the same form on the last rep as the first, across two or three sessions in a row.
If any benchmark fails, stay at the current level for another week or two rather than forcing the next variation. A common pattern is to advance too fast after a good day and then lose a week to soreness.
Watch out: a single-leg bridge that looks clean but produces a visible hip drop on one side is a signal to regress, not to add reps.
Regression options matter as much as progressions.
How Long to Hold a Bridge Exercise and How to Dose It
Hold time and dosage depend on your stage of recovery and your goals.
A simple way to organize dosage is by training stage:
- Early return (rehab-adjacent): 2 sets of 8 to 10 reps with a 2-second hold at the top, performed 3 to 4 days per week. Rest about 60 seconds between sets. The goal is clean movement and a calm symptom response, not fatigue.
- Building strength: 3 sets of 10 to 12 reps with a 3- to 5-second hold, 3 days per week. Rest 60 to 90 seconds. Add a set or a few seconds of hold only when the previous week was pain-free.
- Performance phase: shift toward single-leg versions and controlled faster reps. A common approach is 3 sets of 6 to 8 reps per side with a 2-second hold, plus one longer-endurance set of 15 to 20 reps with a shorter hold. Rest 60 to 90 seconds between sets.
These numbers are starting points, not targets to hit at all costs.
Pain and symptom-response guidance. Distinguish expected muscular effort from symptoms that warrant stopping or modifying the movement:
- Expected: a burning or working sensation in the glutes and hamstrings during the set, and mild soreness that settles within a day.
- Modify: cramping, a feeling that the lower back is doing the work, or soreness that lingers more than a day. Reduce the range of motion, shorten the hold, or move the feet to change the leverage.
- Stop and check in with a clinician: sharp, pinching, or radiating symptoms, numbness or tingling, or pain that rises during the set and does not settle with rest.
Transfer to functional tasks. Bridge strength is a means, not an end.
Your physical therapist can tell you what is safe for your specific injury.
The article lays out starting dosages for each training stage, which can be compared at a glance.
| Training stage | Sets and reps | Hold and frequency |
|---|---|---|
| Early return (rehab-adjacent) | 2 sets of 8 to 10 reps | 2-second hold, 3 to 4 days per week |
| Building strength | 3 sets of 10 to 12 reps | 3- to 5-second hold, 3 days per week |
| Performance phase | 3 sets of 6 to 8 reps per side | 2-second hold, plus one endurance set of 15 to 20 reps |
| Rest between sets (early and building) | About 60 seconds (building: 60 to 90 seconds) | Rest interval |
Building a Plan for Your Return to Sport After Physical Therapy
Moving from rehab to competition is a planning problem, not a single decision. An objective movement assessment such as the TAP Exam can establish where an athlete stands before programming begins.
A practical plan usually follows three stages:
- Assess: measure strength, mobility, and movement quality before any hard training
- Build: progress bridge variations and other strength work based on readiness criteria
- Transfer: connect the strength to sprinting, jumping, and sport-specific tasks
Readiness is the key idea here. Return to sport should depend on objective criteria and pain-free performance, not on the calendar. Watch your symptoms closely.
Individualized programming means two athletes on the same plan will not look identical. Readers ready to move from rehab to structured training can explore one-on-one performance coaching built around each athlete.
Returning to sport after an injury is harder than it looks, and rushing it is how setbacks happen.
Frequently Asked Questions
What muscles does bridging strengthen?
A bridge exercise mainly works the gluteus maximus, the hamstrings, and the deep core muscles that help control the pelvis and lower back. Because it trains hip extension while the trunk stays stable, it is often used early in rehabilitation and as a foundation for later strength work. The movement is simple, but form matters: lift through the hips rather than arching the lower back, and squeeze the glutes at the top. Strong, controlled hip extension supports walking, running, and jumping, which is why the exercise is a common bridge between physical therapy and training.
How long should you hold a bridge exercise?
Most people hold the top position of a basic bridge for about 2 to 5 seconds, then lower slowly with control. Longer holds can be added as strength improves, but the hold should never come at the cost of good form or pain-free movement. Many programs use sets of 8 to 15 repetitions with brief pauses at the top. Your physical therapist or trainer can set a starting hold time based on your current ability, and that dosage should be adjusted over time as you gain strength and endurance.
When can you progress from a basic bridge to a more challenging variation?
Progress when you can complete the basic bridge for the target sets and repetitions with steady breathing, even hip movement, no compensation through the lower back, and no pain that lingers after the session. Readiness criteria should be checked with your physical therapist before you advance. Harder variations such as single-leg bridges or weighted bridges usually come after the two-leg version feels controlled and symmetrical. Moving up too early is a common reason people set back their progress.
How can bridge exercises fit into a return-to-sport training plan?
Bridge exercises fit into a return-to-sport plan as an early strength and control drill that gradually transitions into sport-specific work. Once you are cleared, the exercise can progress to single-leg variations, added resistance with a resistance band or dumbbell, and movements that resemble sprinting, cutting, or jumping. Coordination between your physical therapist and trainer helps ensure each step matches your readiness, and progress should be tracked week over week so decisions rely on measured results rather than guesswork.
